(780) 905 6364
How to Pack a Kitchen for Moving

Packing a kitchen for a move is no easy task. It’s one of the most time-consuming and complicated areas in the house due to the number of fragile, bulky, and oddly shaped items. From glassware and plates to pantry goods and appliances, every piece requires careful planning and packing.
When packing kitchen items for a move, you’ll need more than just standard moving boxes. Gather heavy-duty dish boxes (also called dish packs), packing paper, bubble wrap, packing tape, plastic wrap, and label stickers. Consider cell dividers for glasses, sturdy small boxes for canned goods, and original appliance boxes if available.
10 Step-by-Step Tips for Packing Your Kitchen
- Declutter Before You Pack. Before you even touch a box, go through every cupboard and drawer. Toss out expired food, donate unused small appliances, and give away extra dishware. The fewer items you pack, the easier your move will be—and the less you’ll pay in moving costs.
- Set Aside Daily Essentials. Pack a “kitchen essentials” box with items you’ll need up to and after moving day. Include a few plates, utensils, a coffee maker or kettle, dish soap, and a towel. Label this box clearly and keep it easily accessible during the move.
- Start with Non-Essentials First. Begin packing the items you rarely use: baking tools, special cookware, wine glasses, and serving dishes. This can be done weeks in advance and saves time as the move gets closer.
- Use the Right Boxes for Fragile Items. When packing dishes, stemware, and glasses, use dish packs or double-walled boxes. Wrap each item individually with packing paper or bubble wrap. Place the heaviest items on the bottom and fill all gaps with crumpled paper to prevent shifting.
- Wrap Knives and Sharp Objects Safely. Wrap knives in layers of paper or use blade guards. Bundle them together, tip-down, in a dish towel secured with a rubber band or tape. Always pack them in a clearly marked box to avoid injury when unpacking.
- Label Everything Clearly. Use a marker or printed labels to indicate the contents of each box and which room it belongs to. Add “FRAGILE” or “THIS SIDE UP” on boxes with breakables to help movers handle them carefully.
- Use Plastic Wrap for Liquids and Pantry Items. For opened containers like oils, sauces, or spices, wrap the tops in plastic wrap and then screw the lid back on to prevent leaks. Place liquids in sealed plastic bags before packing them into a box upright.
- Don’t Overpack Boxes. If you still have the original boxes for your toaster, blender, or coffee machine, use them. If not, wrap the appliance in bubble wrap and pack it in a small, sturdy box. Fill extra space with paper to cushion movement.
- Don’t Overpack Boxes. Kitchen items, especially canned goods and dishware, can get heavy quickly. Stick to small- and medium-sized boxes to avoid strain or box breakage. A good rule of thumb: if you struggle to lift it, it’s too heavy.
- Take Photos for Easier Unpacking. Before disassembling your kitchen setup or appliances, take photos. This will help you reconnect cables, reassemble parts, and reorganize your new kitchen much faster.
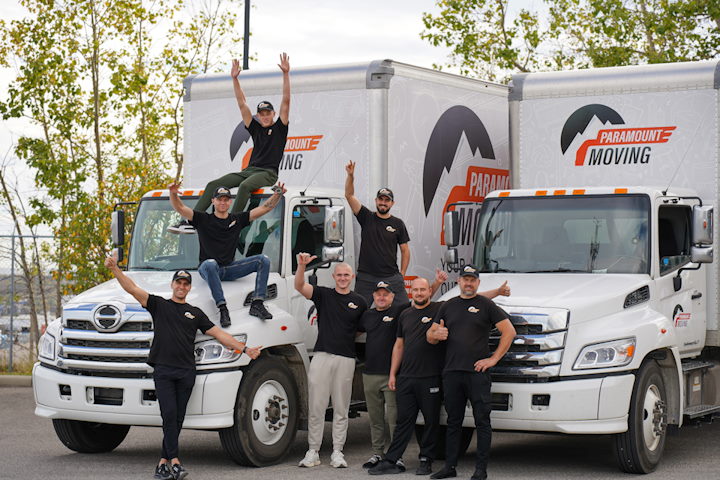
Packing a kitchen for moving can be overwhelming, but it doesn’t have to be. At our moving company in Edmonton, we specialize in full-service moves, including expert kitchen packing. Let our professional residential movers handle your most delicate and difficult-to-pack items, so you can focus on settling into your new home stress-free.